 Australian Made Mats
Building your Chew Proof Dog Bed
Tough Dog beds don’t have to be tough to put together. Your ChewProof Bed is easy to assemble with just a few simple steps.
We’ll help you here and remember, the bed is designed to last a lifetime and guaranteed to 10 years, the Mats, 12 months for Riplock PVC and 100 days for Mesh, so you won’t be doing this every other week like some beds.
The Mats are designed to be firm in the frames for two reasons; first, for great orthopaedic support for your dog, and second, for greater durability. All fabrics will stretch over time, and the tighter initial fit will ensure your mat lasts longer.

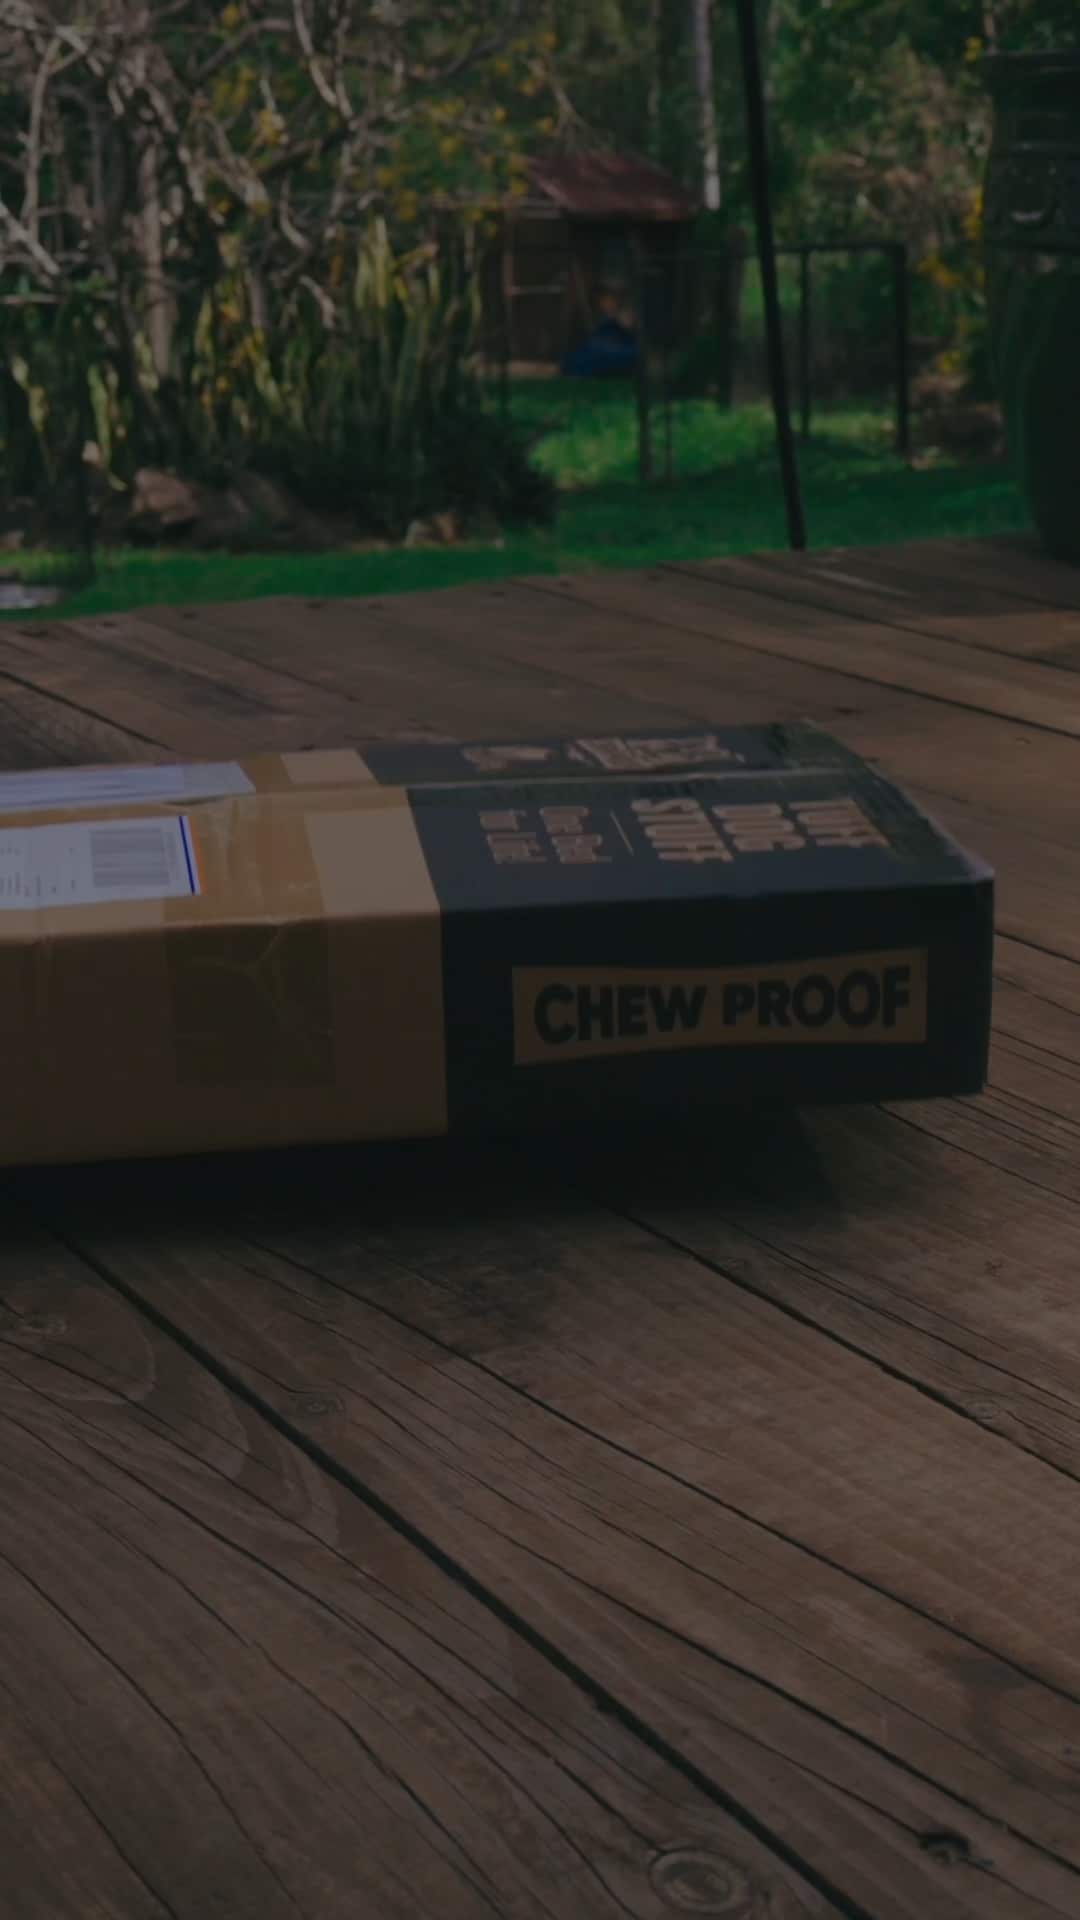
Step 1: Unpack the Box
Find a clean, flat surface — and maybe a space your dog isn’t actively destroying.
Inside your ChewProof delivery, you’ll find:
1 Tough-as-nails mat (Riplock or ToughMesh)
2 Long rails (frame sides)
2 Short rails (frame ends)
2 Long rods
2 Short rods
4 Corner sets (base + cap)
4 Corner caps
4 Corner bases
8 Large screws
4 Small screws
2 Tubes of anti-seize paste (grey stuff – trust us, you’ll thank us later)
4 Plastic insert feet
1 Multi-tool (Allen key/screwdriver hybrid, aka your new best friend)

Step 2: Make Sure You’ve Got Everything
Yes, it’s obvious. No, it’s not optional.
Double-check your parts before assembling. Our Beagles love to “help” during unpacking. Translation: they’ll sit on the mat, carry off a screw, or start chewing a corner before you’ve even blinked.
Missing a part? Double-check under the dog.

Step 3: Insert the Rods into the Fabric
You’ve got 4 rods and 4 edges. Let’s do this.
💡 Pro Tip (especially for Riplock Mats):
Lubricate the rod first — not with the anti-seize (that’s for screws) — but with a bit of dishwashing liquid, lanolin spray, or oil. Trust us, it slides in like a dream.
If the rod puts up a fight, press it in using the corner cap in your palm to protect your hand. Show it who’s boss.

Step 4: Slide the Frame into Place
Slide each of the four frame rails onto the fabric edges like threading a sail — because your pup’s lounging like a captain now.
If things are a bit sticky, feel free to use a touch of lubricant in the “sail track.” Helps it glide smoother than your pup on a polished floor.
📸 Photo Tip: Make sure the ChewProof logo reads the right way up. Bonus points if you don’t have to lie on the floor to admire it.
Also, check the seam (that raised edge of fabric) — that belongs underneath the bed, not staring back at you like a rogue eyebrow.

Step 5: The Corners (You’re Up to the Challenge Here!)
Corners 1 and 2: Easy.
Corners 3 and 4: The moment you consider phoning a friend… but then totally don’t need to.
We’ve designed them to be a relaxed fit, for maximum comfort for your pup.
Despite Craig at the mat factory doing his best (shoutout, mate!), the handmade nature means some beds are a tighter fit than others. No stress — they all work just as tough.
Place the corner base underneath, the cap on top.
⚙️ Dab a little anti-seize on the tip of each large screw (don’t bathe the thing in it — just the last 10mm).
Start by loosely fitting all four corners. Once everything’s in, then tighten them fully. Wriggle the screws, not your hips (unless you need a dance break).

Step 6: Attach the Legs and Feet
You’re nearly there!
Slot the plastic feet into one end of each leg.
Pop the other end into the corner sockets.
Line up the screw holes and insert the small screws to lock the legs in.
🔩 Important: Don’t skip this. We’ve had a few rogue leg incidents involving electrical tape and creativity. It’s all fun and games until your bed’s doing a wonky lean or missing a limb in the backyard.

Step 7: Step Back and Admire Your Work
Look at you! You just built a ChewProof Bed — the most durable, chew-resistant, weatherproof, Aussie-tested pet bed on the market.
👀 Not lying flat? Push down on opposite corners diagonally (think X-shape), then the other set. Sorted.

Bonus Tip: Help Your Dog Love It Faster
Rub a towel or toy with their scent on it over the mat, or toss in that semi-destroyed cushion they refuse to give up. It’ll smell familiar, which helps them bond with it faster.
They’ll think, “This smells like me. Must be mine.” And they’d be right.
That’s it – you’re done.
Your pup now has the best seat in the house. Or yard. Or crate. Or kennel. Wherever they rule their kingdom.
Welcome to the ChewProof family. Tuff Dog Stuff. No fluff. All love.